Here are a few helpful tips to prepare a substrate for a painting. If it is to be a watercolor, which I am planning in the case of this painting, it is necessary to be extremely cautious. This is a complicated drawing with hundreds of line strokes in it which must not show through the transparent watercolor. What I will be doing is tracing off the drawing

tracing paper
Step 1: After the drawing is complete, copy the drawing onto tracing paper. At this point, be as detailed as possible. In this particular instance, the painting will be 16″X22″. I didn’t have tracing paper that large in my closet, so I loosely taped two smaller sheets together. Sometimes, you have to do what you have to do.
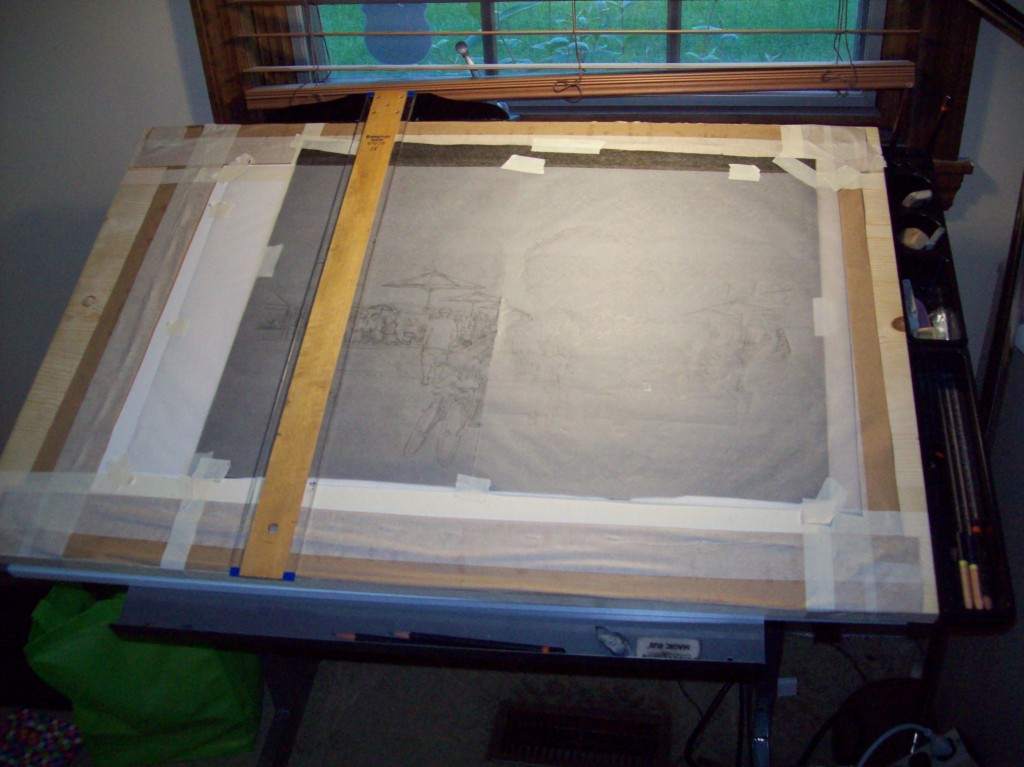
When you are ready to transfer the drawing onto a substrate, make sure the substrate is as prepared as possible for the acceptance of the drawing and ready for the painting. In this instance, the substrate is a 22″X30″, 300lb De Arches watercolor paper blocked off at 16″X22″. This could mean a waste of paper, and a waste of money, but I use the extra for color testing while painting.
To prepare the paper, I soak it for over an hour in warm water, then I stretch it onto a 3/4″ solid 24″X36″ board (purchased at Home Depot for$18.00). Using brown 2″ paper tape, I stretch and staple the paper on the board. When it is completely dry (at least 24 hours) it is ready to paint upon. Before painting, I block off the size of the painting with masking tape.
When the copying of the drawing onto tracing paper is complete, then I prepare the substrate for the transfer. To make sure none of the papers can move, I tape transfer paper onto the substrate and beneath the tracing paper. Then, I separately tape the tracing paper to the substrate, but not to the transfer paper. I carefully measure the paper to fit into the blocked off area for the painting. Next is the most crucial step. Making the copy onto the substrate.
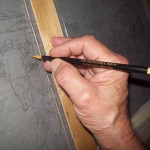
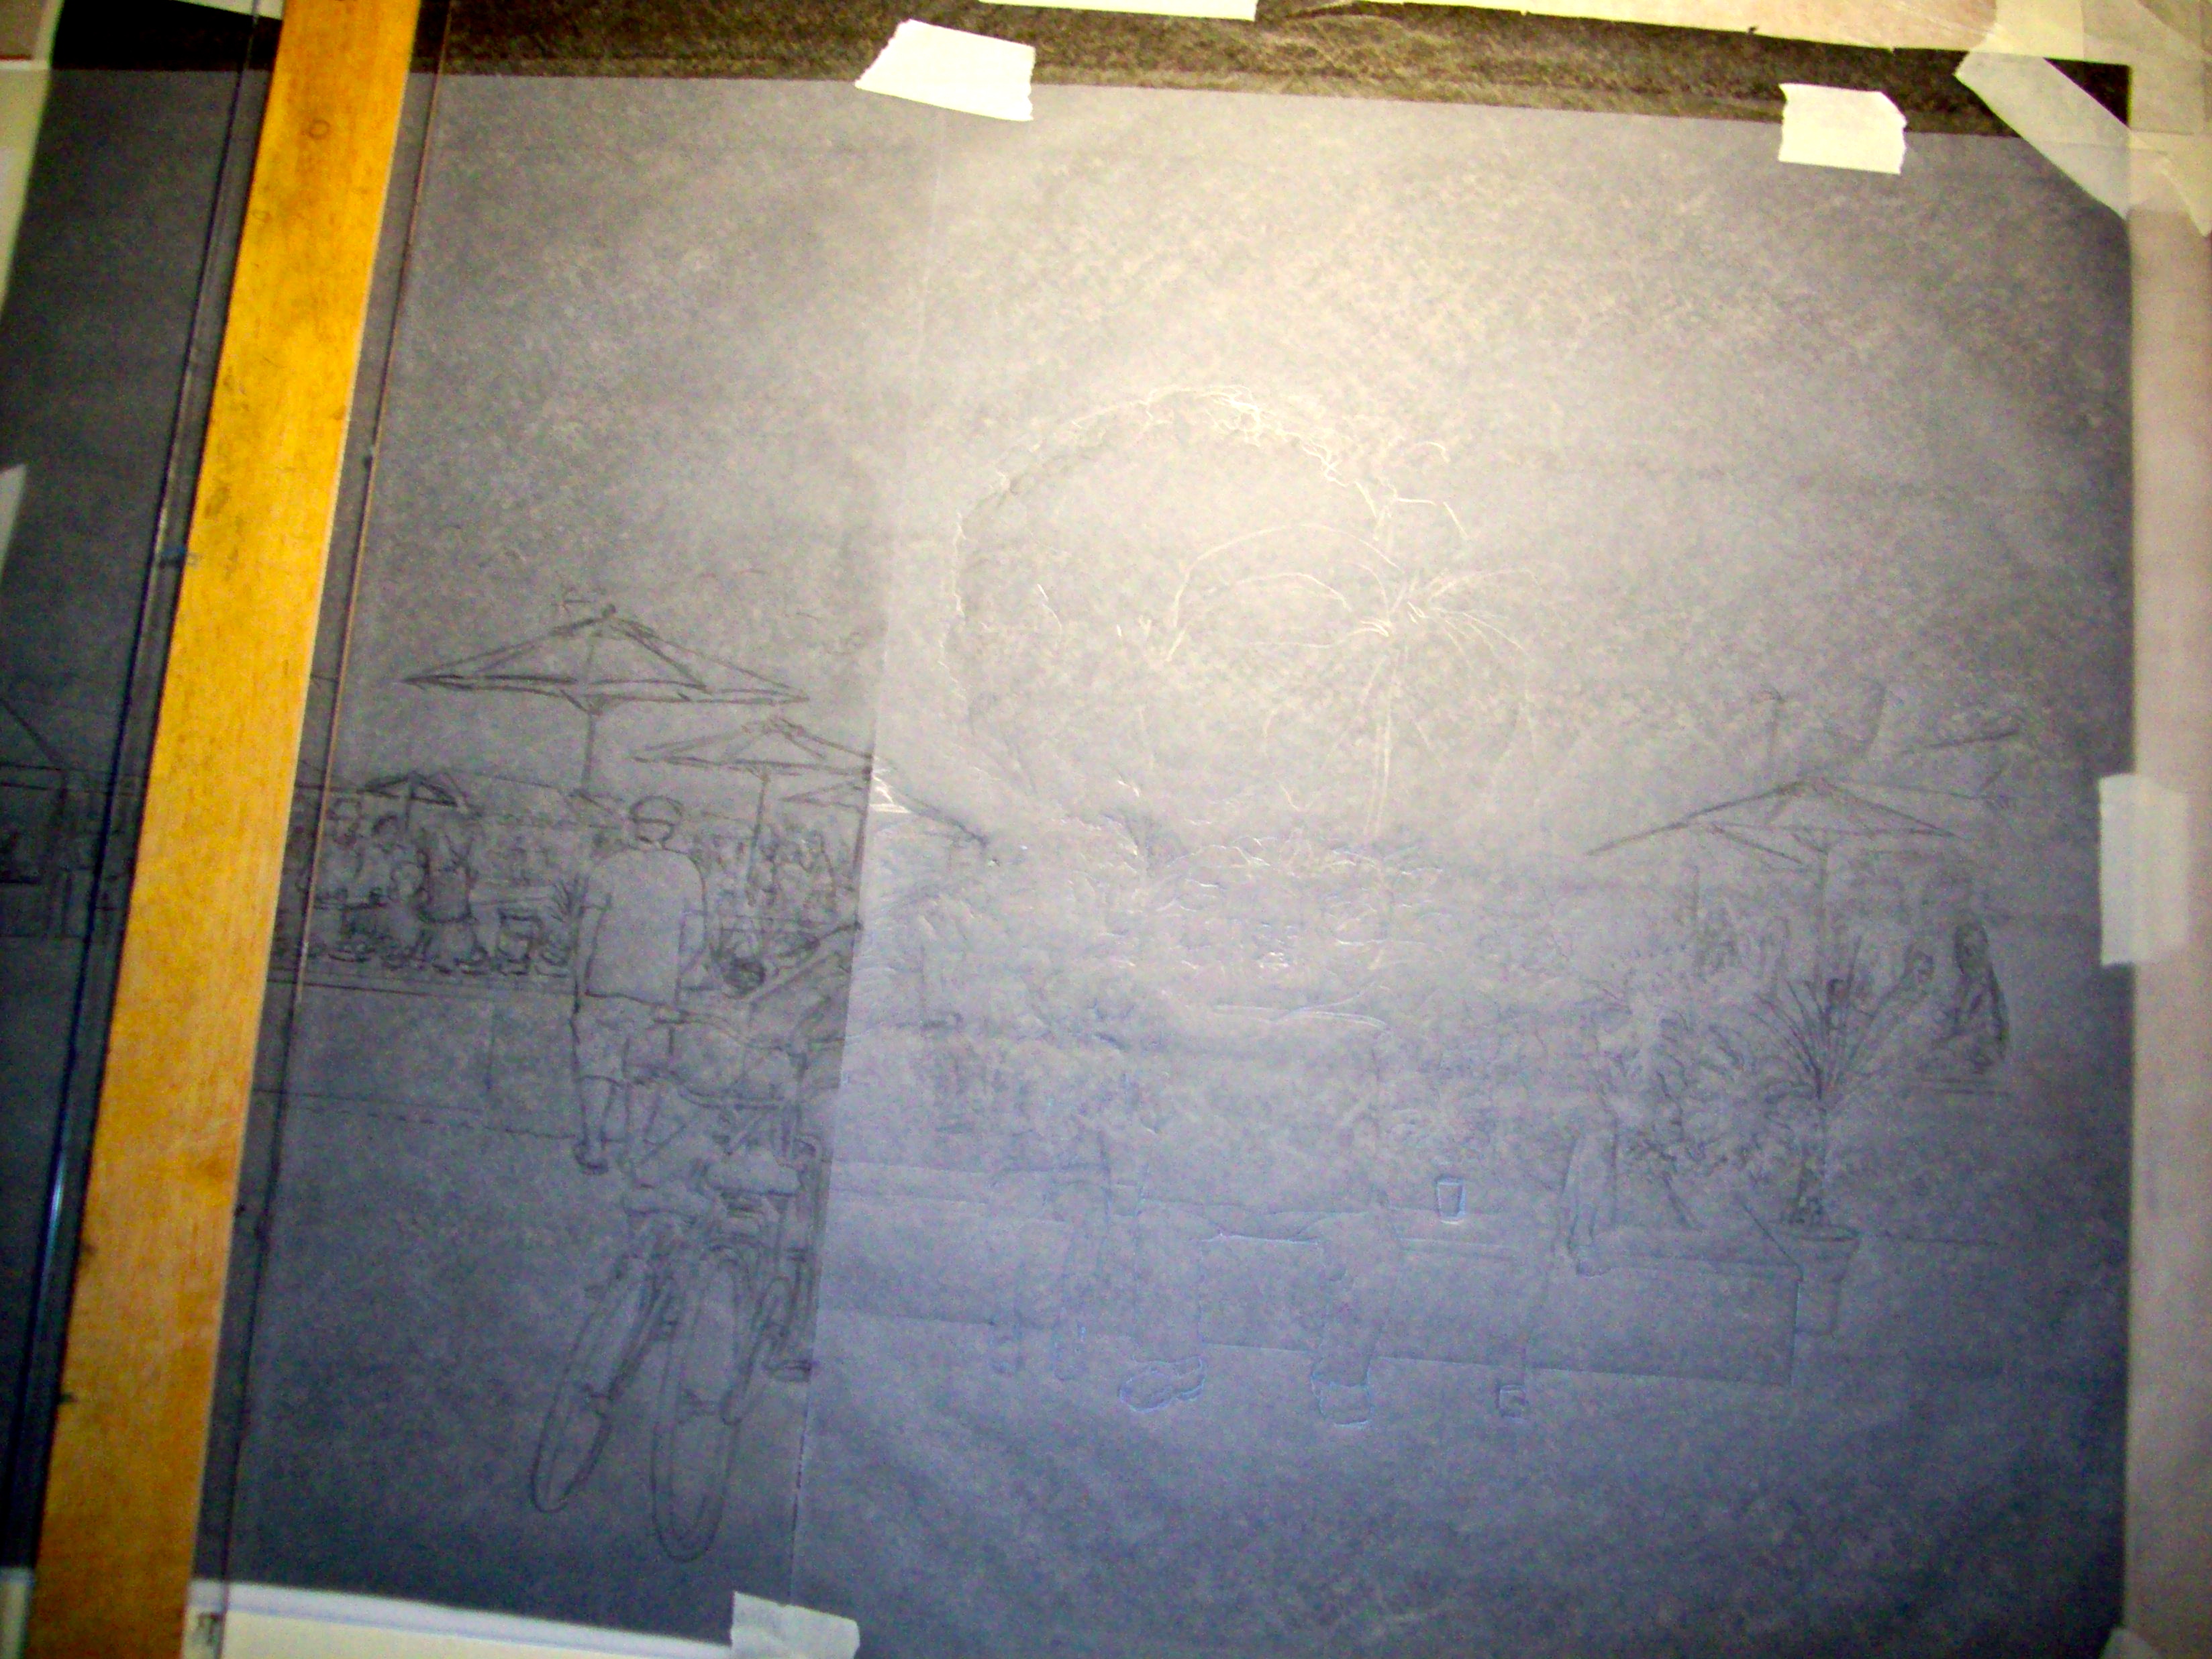
Tip: When drawing copy onto substrate, be as light as possible. Do not place hand or fingers directly onto the surface, it will smudge and could ruin your painting surface. Most transfer paper manufacturers claim it will not smudge, but I have yet to find that to be true. You need to trace as lightly as possible. The transfer paper will trace off relatively dark. You can use any instrument that you wish that will leave a distinct mark on the paper. In this instance I am using a sharp end of a nib.
I try to make my transfer so light that I need a magnifying glass to see the image. Here, I paint over the transferred strokes with a neutral color. In other words, I completely redraw the picture with light thin paint strokes. That is another blog post, so we will save it for later.